Part 1 | Part 2 | Part 3 | Part 4
FotoSketcher Rendering
–
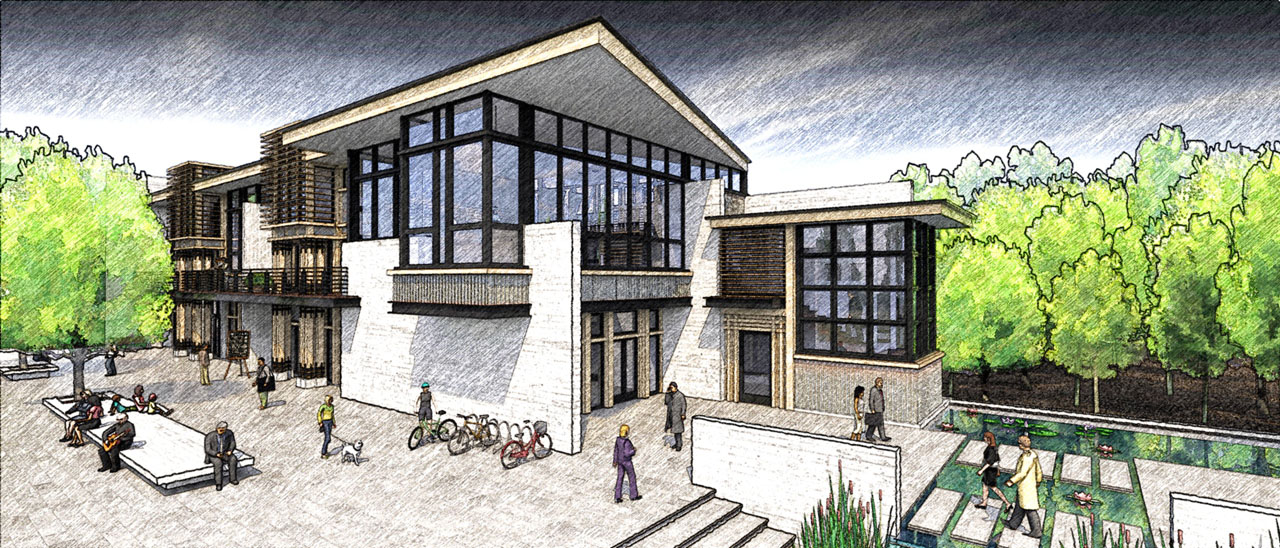
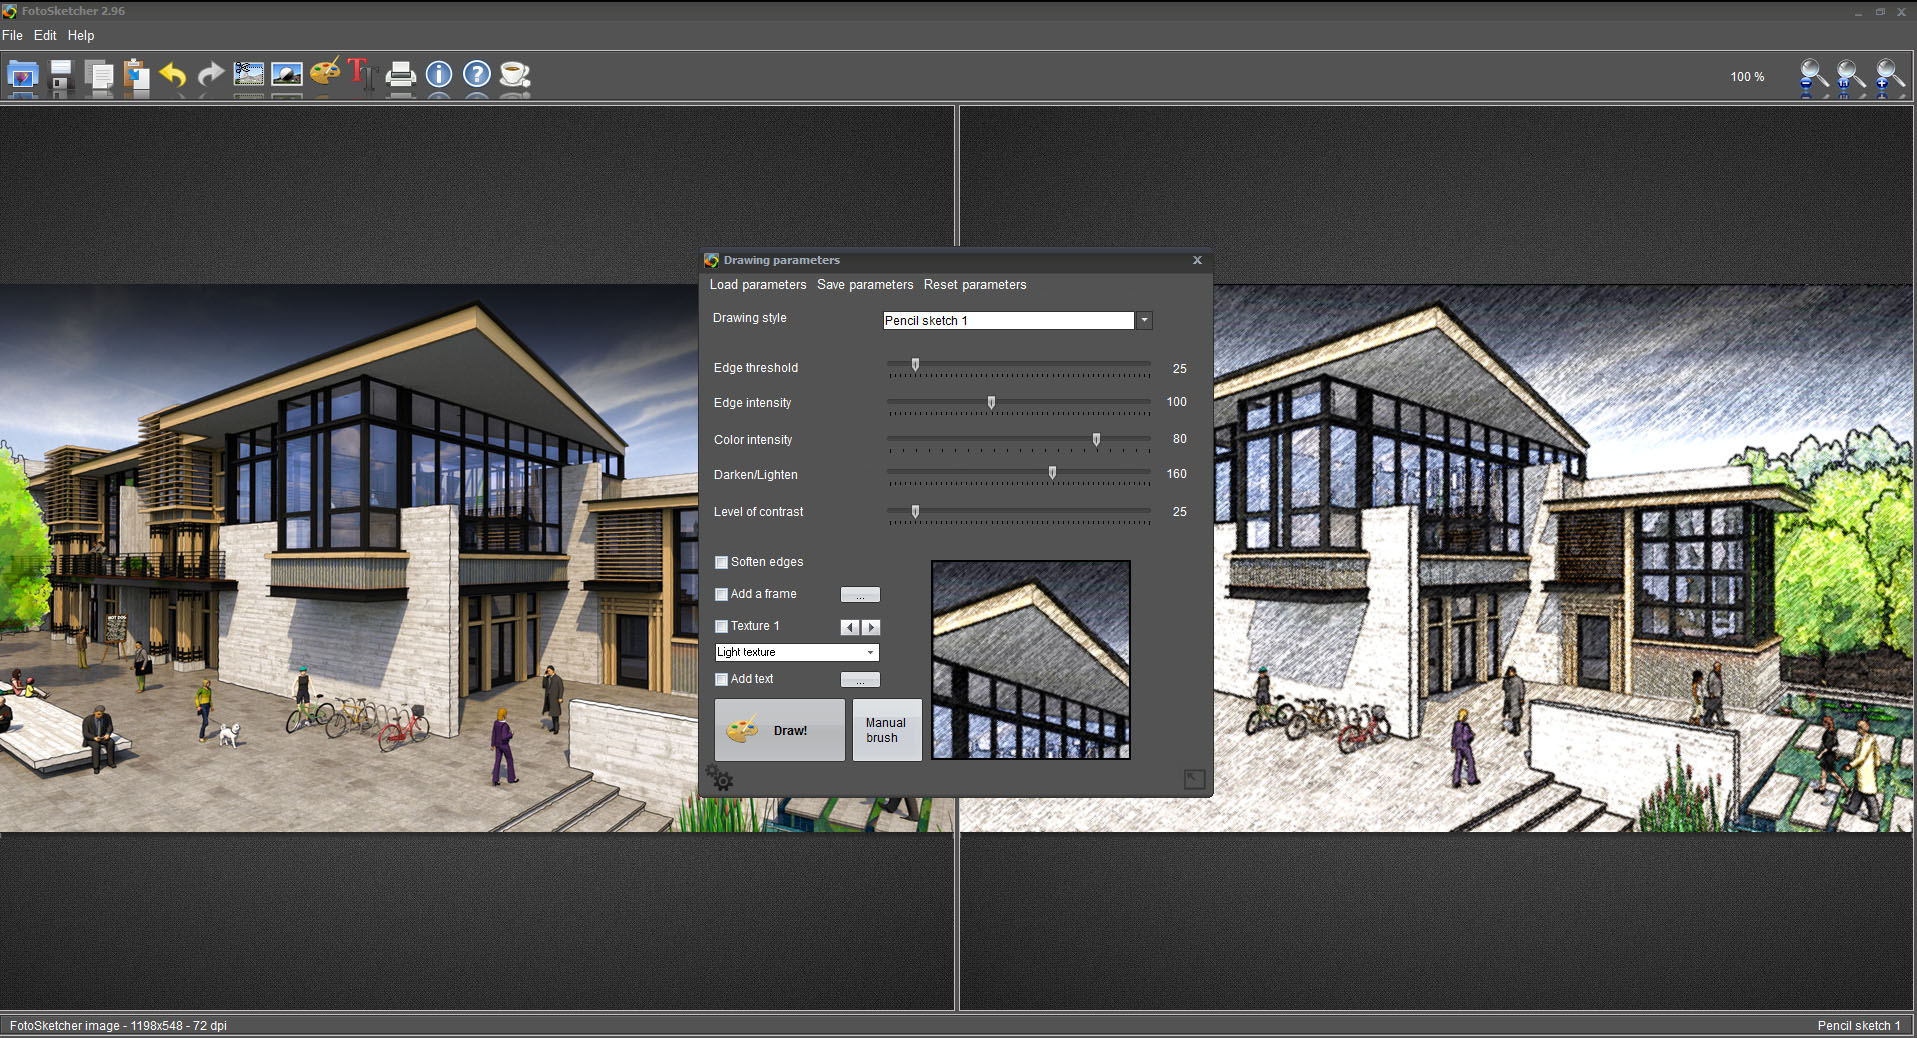
Above is the Image exported directly form FotoSketcher – Below is a screenshot of FotoSketcher and the default settings used. Definitely play around with all the settings and note that you can add a background texture to your FotoSketcher image.
–
–
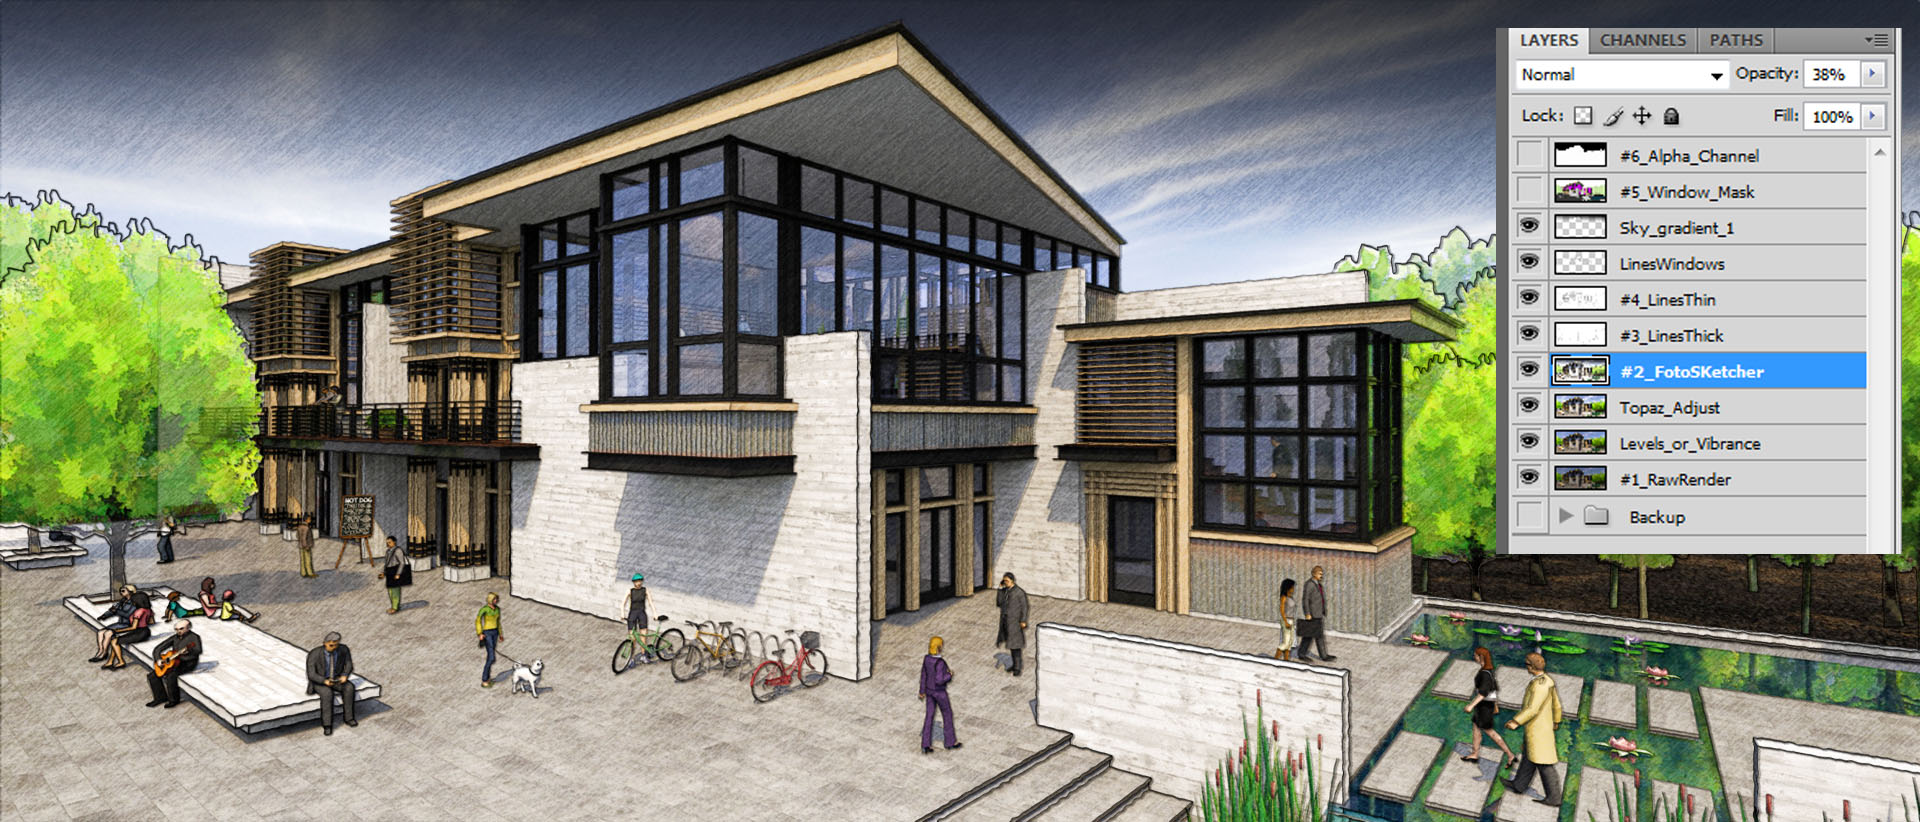
Below is the original Final Image but now the FotoSketcher image has been applied in Photoshop. Note the position of the FotoSketcher layer is below the line layers and the Opacity is set for 38% – I generally find the “sweet spot” opacity to be around 36% for my blending FotoSketcher NPR images.
–


