- Sketchup
- 3D model
- Linework exports
- Rendering Engine (e.g. Thea, Vray, Twilight)
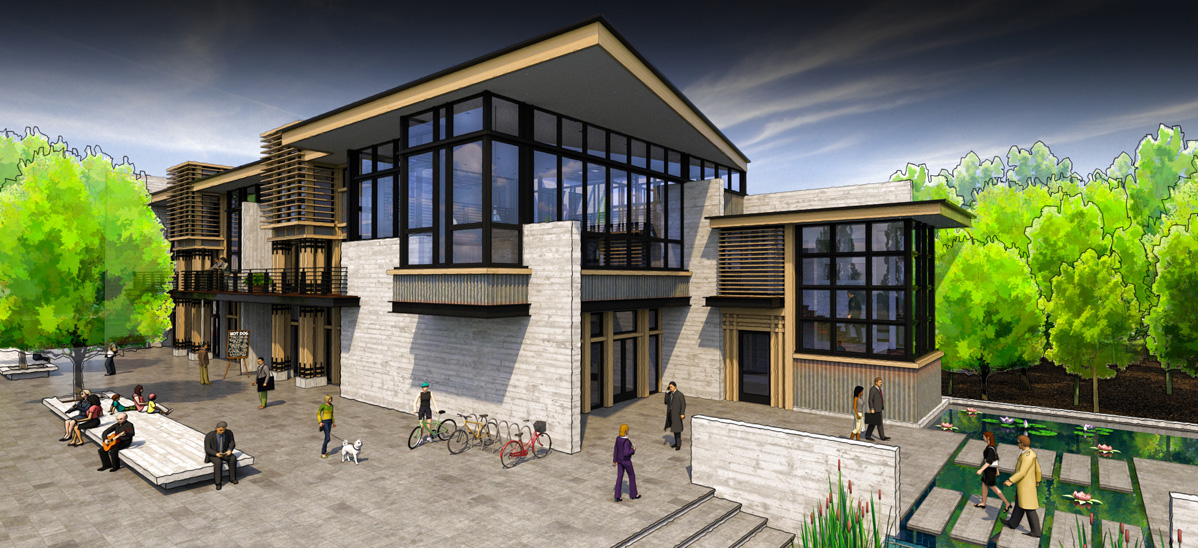
- Photo-realistic image
- Alpha Mask Export
- Photoshop (or GIMP, etc)
- Layer & Combine Images
- Apply Filters
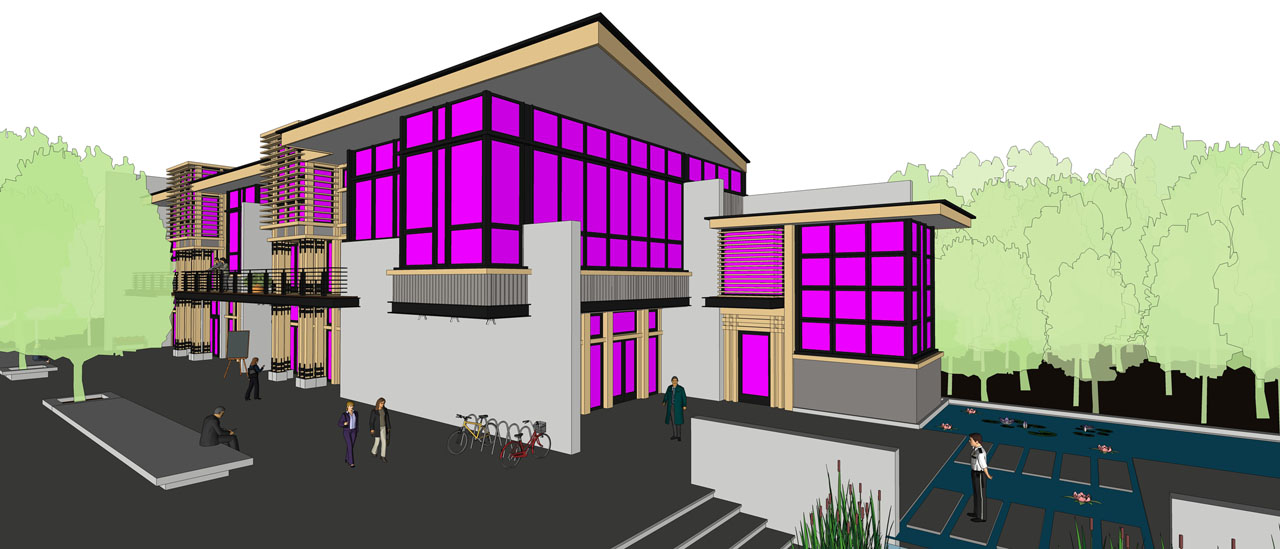
Obviously you will need a good base render with quality materials and entourage, etc. The board formed concrete and tile floor in this scene are from Arroway – The 3D people and 2D trees are form FormFonts.com – Other items are from the 3D Warehouse. The sky is an HDRI
Begin the process by creating the following images:
Raw Render
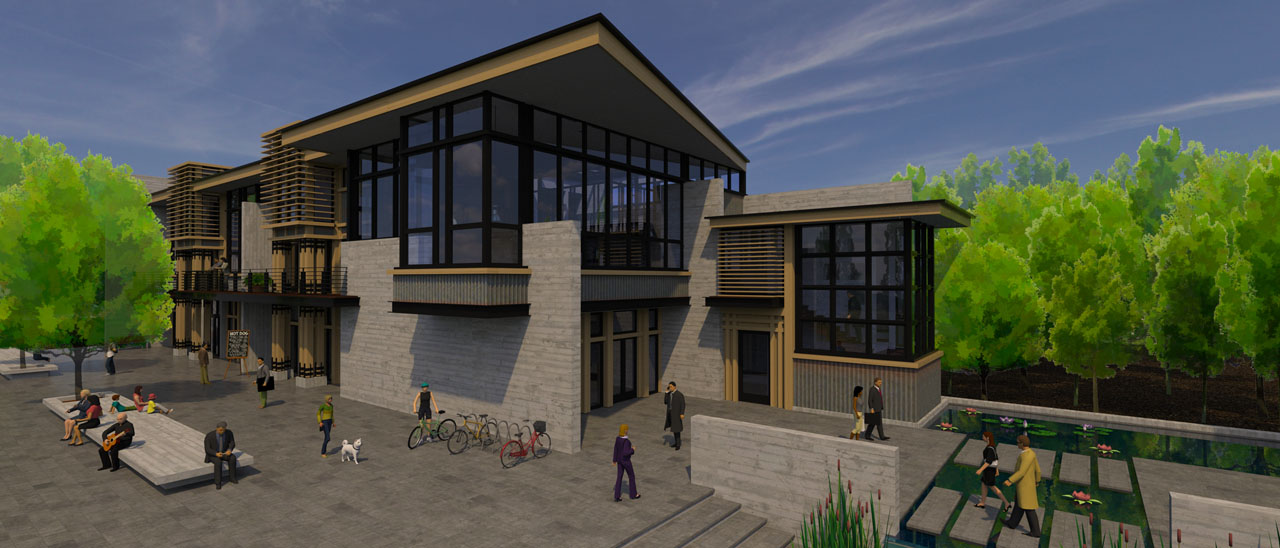
Raw image straight from Thea render
The raw render from Thea without any post processing. Not much to say here. I personally use the Unbiased (TR1) in Thea render (since my puter’ isn’t strong enough for GPU+CPU!).
Line Export
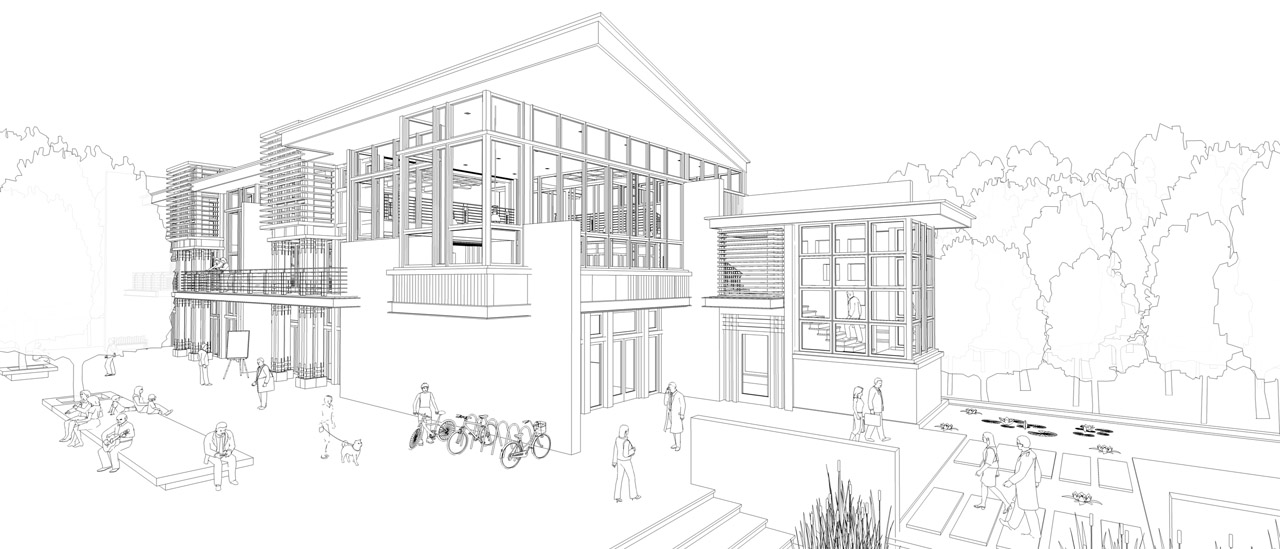
Hi Resolution Line Export from SketchUp
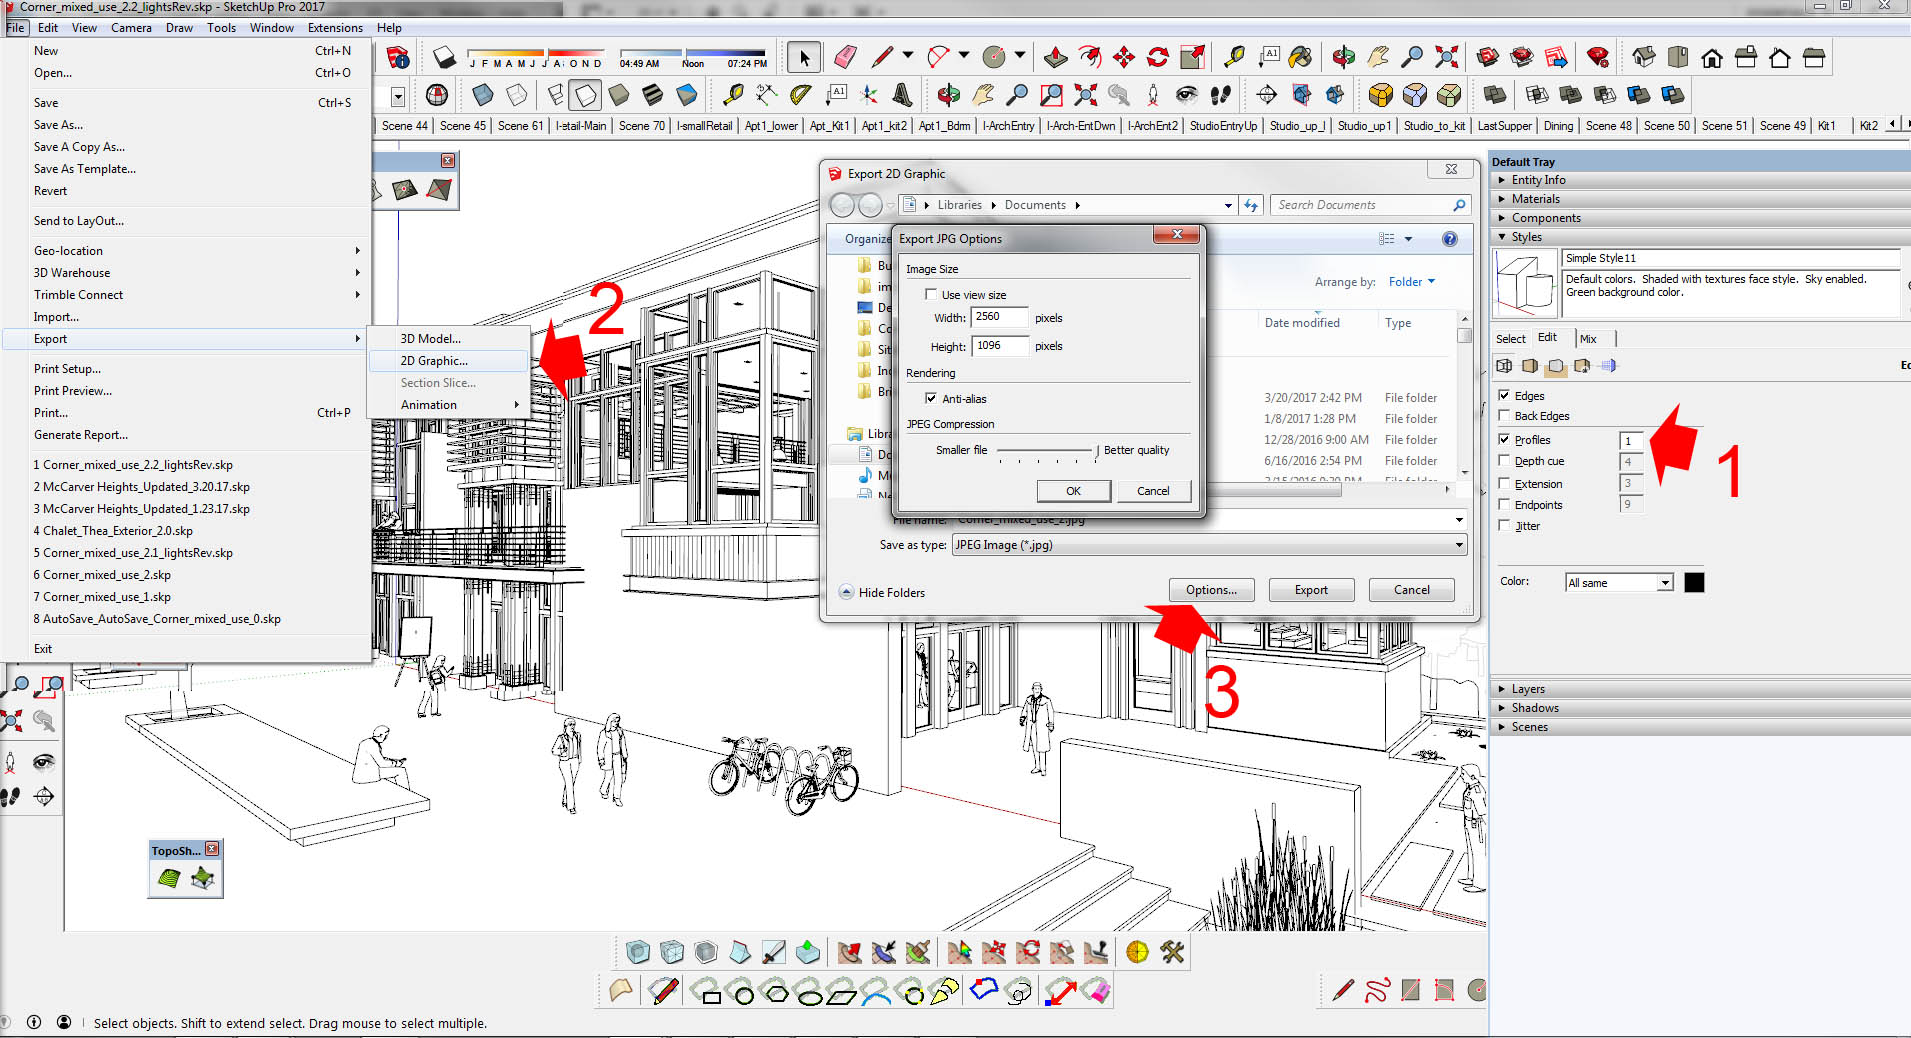
Line Export Menus / Settings
Two line only images were exported out of SketchUp. For this render I wanted thick lines on specific foreground portions of the model.
- Under ‘Styles’ in SketchUp – I typically set profiles to ‘1’ and Background to “white’ with Sky turned off. You need an image that is all white with linework only in order for the ‘Multiply’ blending mode in Photoshop to function properly.
- Export the Image – File > Export > 2D Graphic
- Save two different resolutions. One standard resolution and one exactly double size. Select the Options button and double the size of the original Image. The double sized export will be reduced by half inside Photoshop – this will give you much thinner lines than the standard resolution export.
Window Mask
Window Mask Export from SketchUp
I often export a window mask from SkecthUp in case I want to make adjustments to the windows. Simply create a separate layer or change the window color to something bright like the purple above. Alternatively, you could also export the materials channel from your render engine. Either way you go it is convenient to be able to isolate your windows.
Alpha Mask
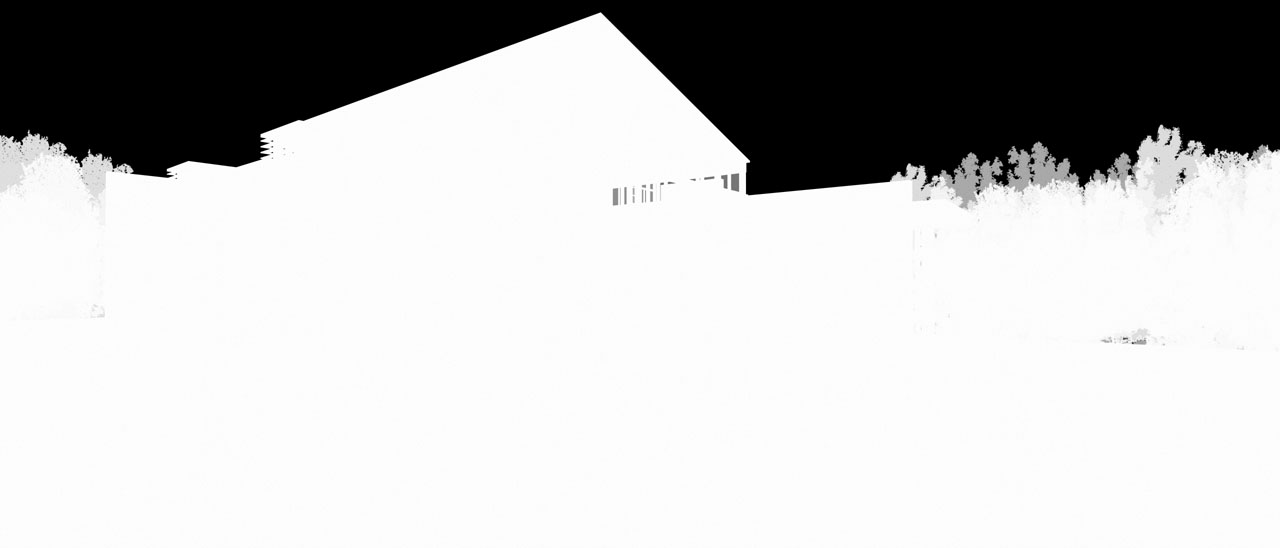
Alpha Channel export from Thea rendering engine
We will need an Alpha Mask to adjust the sky separately from the rest of the image. This can be done in your render engine or straight from SketchUp by changing the sky color to something solid bright and exporting a 2D image similar to the linework images.